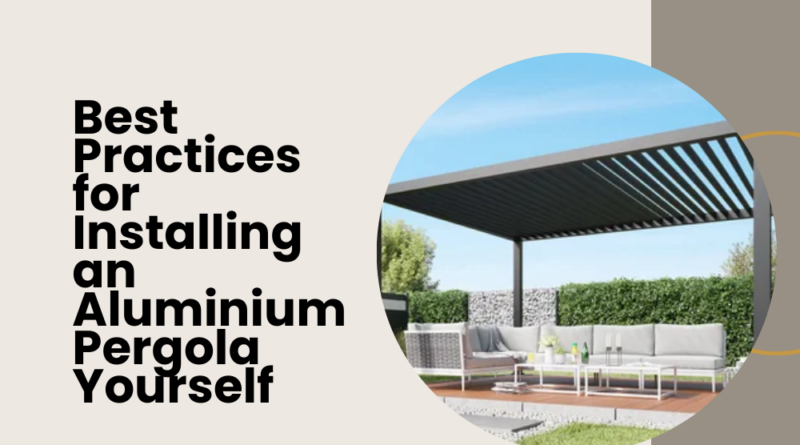
Best Practices for Installing an Aluminium Pergola Yourself
Installing an aluminium pergola can enhance your outdoor space and provide a stylish, functional addition to your home. Whether you’re a seasoned DIY enthusiast or just starting out, following best practices ensures a smooth installation process. Here’s a comprehensive guide to help you achieve professional results on your own.
Preparation: Gathering Your Tools and Materials
Before diving into the installation, gather all necessary tools and materials. This includes:
- Tools: Screwdriver, drill, spirit level, measuring tape, wrench set.
- Materials: Aluminium pergola kit, concrete or anchors (depending on installation surface), screws, bolts.
Ensure you have everything laid out and organized before starting to avoid interruptions during the installation.
Note:- Ready to enhance your outdoor space with an aluminium pergola? Explore our range of premium aluminium pergolas Dubai today! Whether you’re looking for a sleek modern design or a classic style, we have options to suit every home and budget.
Choosing the Right Location
Selecting the optimal location for your aluminium pergola is crucial. Consider factors such as:

- Sun Exposure: Determine how much sunlight you want in the pergola area throughout the day.
- Aesthetics: Ensure the pergola complements your home’s architecture and landscaping.
- Accessibility: Choose a location that is easily accessible and functional for its intended use.
Preparing the Installation Site
Prepare the site by clearing any obstructions and ensuring the ground is level. Use a spirit level to confirm the evenness of the ground, as this will impact the stability of your pergola once installed.
Assembling the Aluminium Pergola
Follow these steps for assembling the pergola:
- Read the Instructions: Carefully go through the manufacturer’s assembly instructions provided with the kit.
- Start with the Frame: Begin by assembling the frame components according to the provided diagrams. Use the appropriate screws and bolts as indicated.
- Attach the Roof and Panels: Once the frame is assembled, attach the roof panels or canopy securely. This step may require assistance to ensure the panels are aligned correctly.
- Secure the Posts: Install and secure the pergola posts firmly into the ground or onto a solid surface using concrete or anchors. Ensure they are straight and level.
Installing Additional Features
Depending on your aluminium pergola design and preferences, you may want to add:
- Shade Options: Install retractable shades or curtains for additional shade and privacy.
- Lighting: Incorporate lighting fixtures onto the pergola for ambiance during evening hours.
- Climbing Plants: Plan for climbing plants or vines to grow around the pergola for a natural shade solution.
Testing and Final Adjustments
Once assembled, test the stability and functionality of your aluminium pergola. Make any necessary adjustments to ensure it meets your expectations in terms of stability and aesthetic appeal.
Maintenance Tips
Maintaining your aluminium pergola will ensure its longevity and continued beauty:
- Regular Cleaning: Clean the pergola regularly to remove dirt and debris.
- Inspect for Damage: Periodically inspect for any signs of wear or damage, especially after severe weather conditions.
- Repainting: If needed, repaint the pergola to protect it from rust and corrosion.
Conclusion
Installing an aluminium pergola yourself can be a rewarding project that adds value to your home. By following these best practices and taking your time to ensure each step is done correctly, you can enjoy a beautiful outdoor space for years to come. Remember, safety and precision are key to achieving professional results in your DIY endeavour. Happy pergola building!
Read more informative blog at nichenest.